Stream a Mukbang Controls: PC, Xbox & PlayStation
Find official Stream a Mukbang controls for rotating and placing furniture on PC, Xbox, and PlayStation, plus a focused checklist for missed inputs.

FAQ
How do I rotate furniture in Stream a Mukbang?
Which button places an item?
Is Xbox X the same position as PlayStation Cross?
What are the mobile placement controls?
The official Stream a Mukbang controls are straightforward for room placement: R rotates and the left mouse button places on PC; X rotates and A places on Xbox; Square rotates and Cross places on PlayStation. These bindings come from the game’s Roblox description checked on 8 November 2026. They describe rotation and placement, not a universal button for eating, collecting cash, or clearing a table.
Use the table first, then work through one input at a time if a command appears to do nothing. The guide does not claim hands-on verification on every controller or invent missing mobile gestures. Its troubleshooting steps help distinguish a wrong mode, lost keyboard focus, a placement issue, and a delayed response without turning one failed input into a reason to reinstall Roblox.
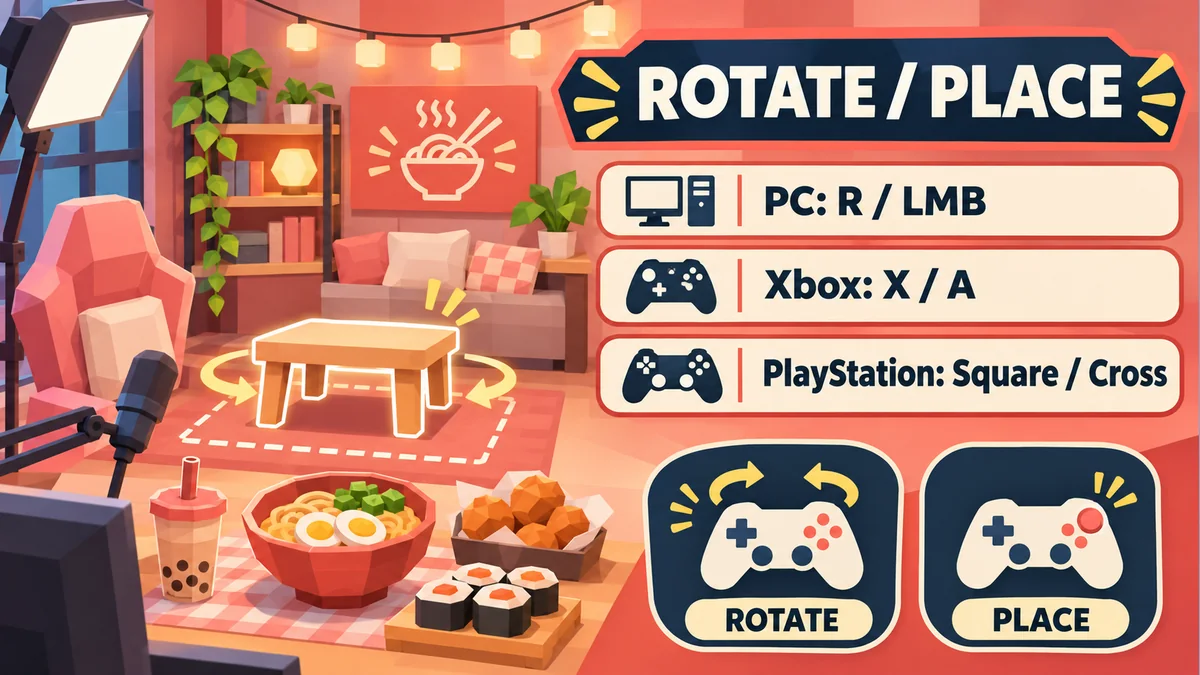
Which placement controls does the official game list?
The developer, vibing games!, publishes two control rows in the official description. Read the platform names together with the button names. In particular, the letter X on an Xbox controller is not the same control as the Cross symbol on a PlayStation controller. Confusing those names reverses the action you expect at exactly the moment you are trying to arrange furniture.
| Action | PC | Xbox | PlayStation |
|---|---|---|---|
| Rotate the selected placement preview | R | X | Square (□) |
| Place the selected item | Left mouse button (LMB) | A | Cross (×) |
The description does not give a complete binding list for movement, eating, streaming, interaction, cancellation, or touch placement. Those actions should follow the current in-game prompts. Do not apply the placement table to every part of a session just because the same controller is connected. A correct button can still be the wrong command for the screen you currently have open.
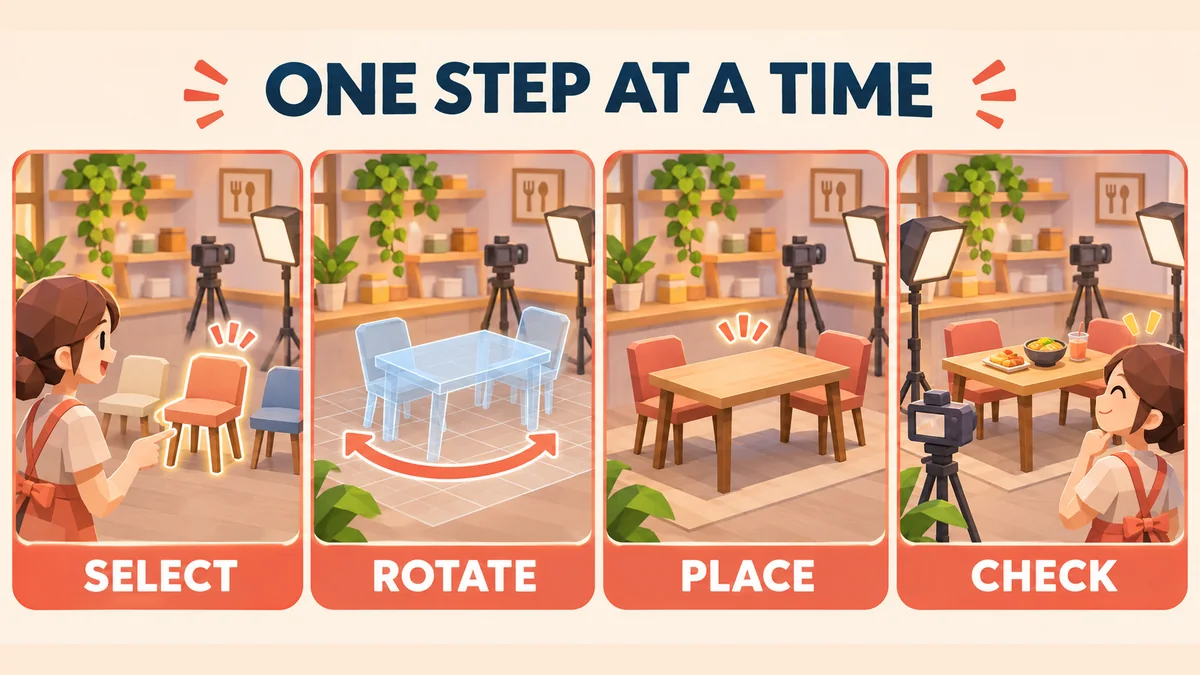
Select an item before testing rotation
First open the current room-editing or placement flow and select an item through the visible interface. Confirm that you are manipulating a placement preview rather than simply looking at an object already in the room. The official control row does not document a permanent “rotate any object” shortcut that works while browsing menus or walking around.
If no preview appears, solve selection first. Check whether the item is actually available to place and whether another menu is covering the room. This is a diagnostic sequence, not a claim that every unavailable item has the same ownership or unlock requirement. Read the actual label instead of assuming that more cash or a different chair is the answer to every greyed-out control.
The beginner guide covers the broader progression loop. Keep that separate from a control test: choose one available item and one clear spot, then verify the published rotate and place actions. Testing with a familiar item is easier to interpret than opening several upgrades and changing the whole setup at once.
Rotate once and watch the preview
Press the published rotate command once, release it, and observe the preview before pressing again. A visible change in orientation tells you that the command reached the relevant mode. The official description does not state a rotation angle, so do not assume that every press means 90 degrees or that every furniture model has identical orientation steps.
A symmetrical table or chair can make rotation harder to see. Use a recognizable edge or detail when judging orientation, without buying a different item just for testing. If the preview changes but the final position looks wrong, the rotate input may be working; the remaining issue could be placement location, camera perspective, or a different selected item. Separate those observations rather than declaring the button broken.
Place once, then confirm the room state
Move the selected preview to the intended location and use the platform’s placement command once. Watch for the preview becoming a placed object or for a message explaining why the action was rejected. Do not promise that every surface or position accepts every item: the official binding table describes input, not all of the game’s placement rules.
If the game rejects a position, read its visible feedback and try a clearly open area as a comparison. Change one thing, such as position or orientation, and retest. Repeated rapid placement inputs make it harder to tell whether the server accepted the first action or whether you are still manipulating the preview. A clean one-command test is also easier to describe in a support report.
PC checks: keyboard focus and mouse input
On PC, close chat or a text-entry field before testing R. If a letter appears in a text box, the key is reaching text input rather than the room-editing action. Click back into the game view through the normal interface and retest with a selected preview. Avoid typing a whole sequence of keys while another menu is active; that produces noise without identifying the missing step.
For the mouse, distinguish a normal left click from dragging the camera or interacting with an overlay. Make sure the pointer is over the intended game area. If an operating-system accessibility setting changes click behavior, record it and compare carefully using standard controls. Do not install key remappers or automation scripts merely because a single placement command failed in one session.
Console checks: read the controller’s actual labels
On Xbox, use X for rotation and A for placement according to the published mapping. On PlayStation, use Square for rotation and Cross for placement. The word “X” is ambiguous in informal guides, so this page uses the explicit platform and symbol names. If someone says “press X,” ask yourself which controller and which action they mean before following that advice.
If you use a controller with customized system bindings, the physical position and the action sent to the game may differ. Check the platform’s own settings and the prompts shown by Roblox. The official mapping is a reference for the default named buttons, not proof that every third-party controller or remapped layout behaves identically. Test selection, rotation, and placement separately after any change.
Mobile controls and eating prompts are separate questions
The official description does not provide a phone or tablet touch map for these two actions. Use the controls visibly exposed by the current game. Stabilize the camera, release the screen, then tap one clearly labelled action. The mobile guide expands on touch precision without pretending that R corresponds to a particular swipe or double tap.
Similarly, placing a table is different from finishing food or collecting a completion reward. The table-clearing guide deals with the visible objective and confirmation sequence. If your problem happens after eating, the rotation table is unlikely to answer it. Identify the stage of the session first, then follow the prompt for that stage.
A short recovery checklist for missed inputs
- Confirm the official game and let the room and interface finish loading.
- Close unrelated menus and text fields, then select one available placeable item.
- Check that a preview is visible and use the correct platform’s rotate command once.
- Move to a clear comparison position and use the placement command once.
- Record any rejection text or delay before changing another setting.
- If the interface remains unresponsive, rejoin once and repeat the same small test.
If the issue persists, save the device type, controller model, selected item, action, expected result, and exact observed message. A screenshot or short clip can show whether the preview existed when you pressed the button. Report that through a support route linked from the developer’s official listing if available. Never provide passwords or session cookies, and do not use external scripts to bypass a failed command.
Related Articles
guides
Stream a Mukbang Codes Not Working? Fix Invalid Redeem Codes
Stream a Mukbang codes not working? Check the source, redeem one code correctly, separate expiry from server delay, and know when to re-check the code list.
guides
How to Clear the Screen in Stream a Mukbang Roblox
Learn how to clear a cluttered Stream a Mukbang Roblox screen, close stuck panels, recover the camera, and tell a UI problem from a table objective.
guides
How to Chat in Stream a Mukbang Roblox: Settings and Fixes
Learn how to use text chat in Stream a Mukbang on Roblox, check privacy settings, fix missing chat on mobile, and stay clear of unsafe scripts.
Was this helpful?
Thanks for the feedback!